Samsung Odin Download Flashing Tutorial
Samsung Odin 3.14.4 is found as a hunting ROM/firmware flashing tool, it is true because of the success rate of Samsung Odin download application. XDA developers are the development crew behind Odin flashing tool.Version 3.14.4 is the latest release of the Odin flash software series. This software compatible for Windows platform and it is really easy to flash ROMS or firmware using Odin flash tool. So you can flash almost all the samsung devices including Samsung galaxy 21, 20, Note 20 and many more.
Following guide will assist you with a simple explanation about Odin flash tool basics. Please continue the tutorial to find out more.
Download Odin flash tool, latest Odin 3.14.4 and Odin 3.14.1
Prequisites:
- Make appropriate backups for your device to save your important data.
- Windows based PC with good condition.
- USB cable to make the connection between PC and device.
- Download and setup latest “Samsung USB drivers”
- You should enable USB Debugging mode on your device, otherwise device may not connect to PC properly.
Install Samsung Odin Download on PC.


How to Flash Custom ROM via Odin?
- Step 1: Right-click on the Odin exe file and start it as an administrator
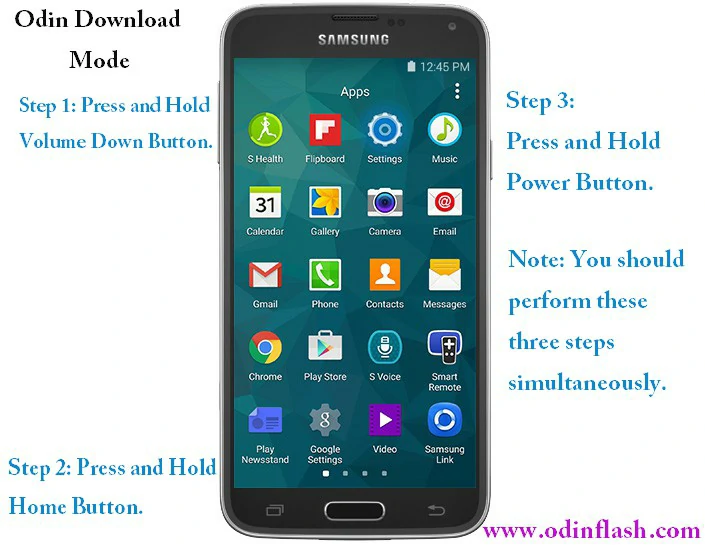
- Step 2: Connect the Samsung Phone or Tablet to the PC (in Download Mode)
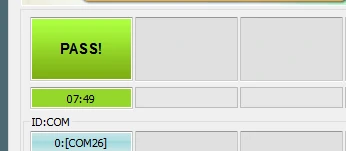
- Step 3: Let Odin detects the connected device which will be notified with an “Added” message in the left Panel. And at the same time, the box ID: COM should turn blue in color when the device is successful in the connection
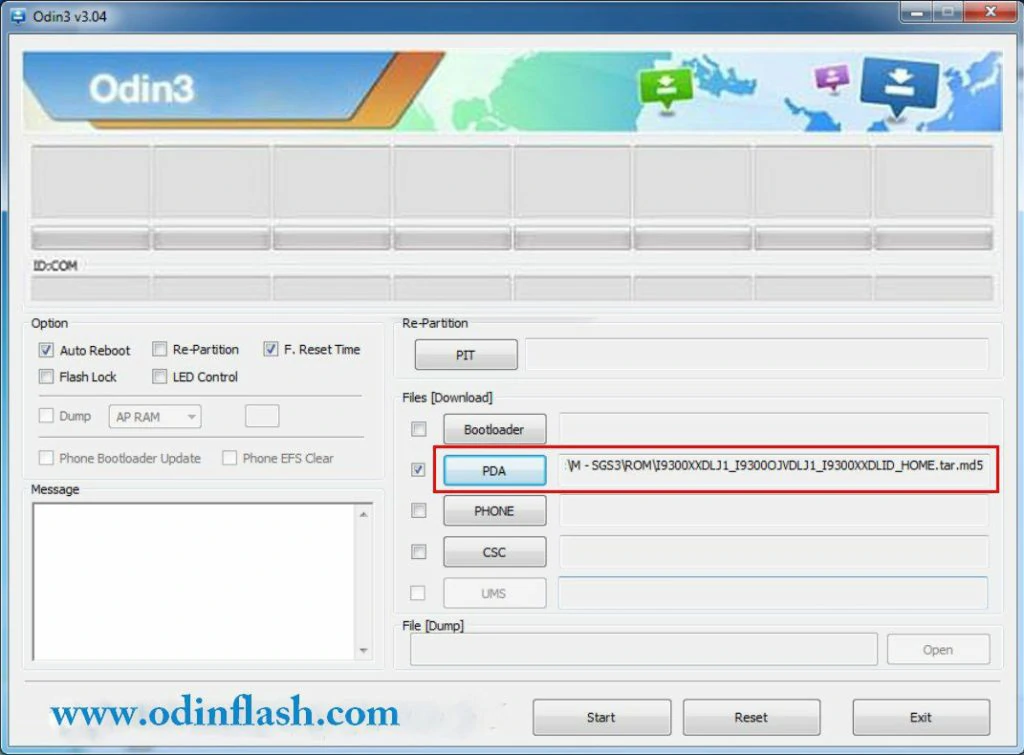
- Step 4: Then select “AP” and attach the Custom Firmware file there
- Step 5: In the checkboxes, only the Auto Reboot and F. Reset Time should be selected while the rest should remain unchecked
- Step 6: Now continue to “Start”
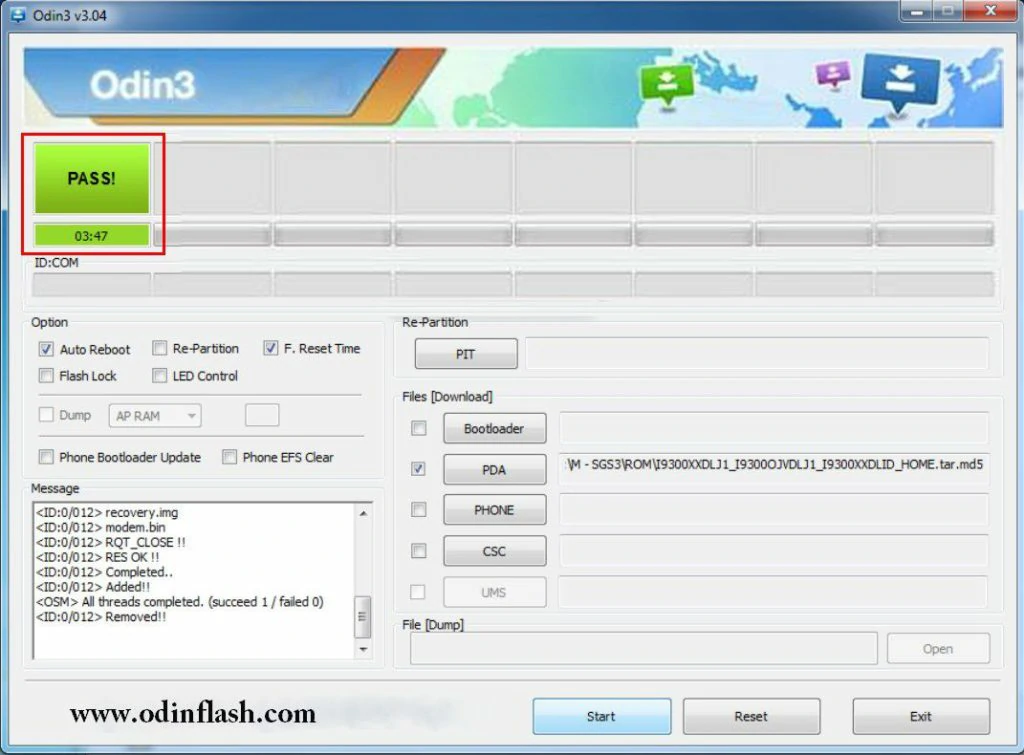
- Step 7: Now you need some minutes wait. So please do not disturb the process or remove from the connection until it is completed in the progress. Once finished, it will show the success of a green “Pass”. And do not get troubled if your device gets rebooted a number of times

Congratulations! you are successfully done flashing a Custom ROM to your Samsung. So now you can disconnect the device from the PC and start the use as usual. But remember it is now like a new handset with all fresh system alterations.